If you’re like me, you’ve spent too many nights scrolling through fellow applicants’ personal sites—entry-level candidates, new grads, even internship contenders—with clean layouts, clever micro-interactions, and client-ready case studies, and felt that creeping left-behind anxiety: How did they do this? How do I keep up?
I’ve carried that feeling for a long time. I knew I needed a personal website, but the internet is a maze of bloated tutorials and sponsored “solutions.” As a marketing-background non-coder, I kept putting it off because I didn’t know where to start.
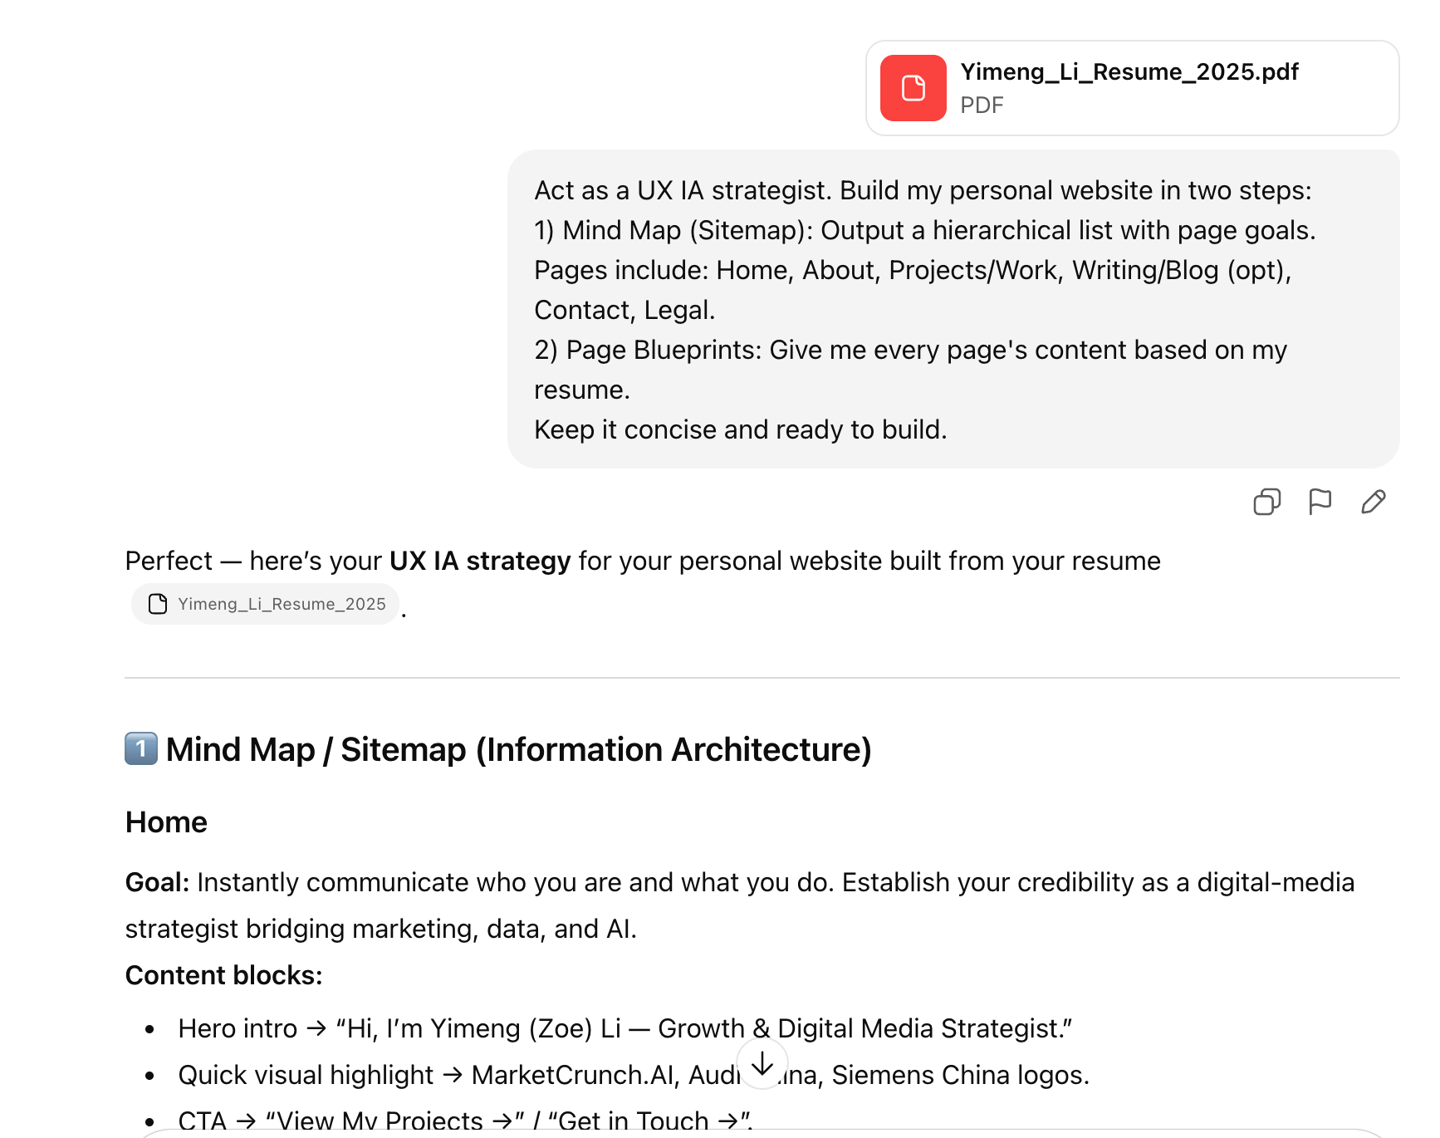
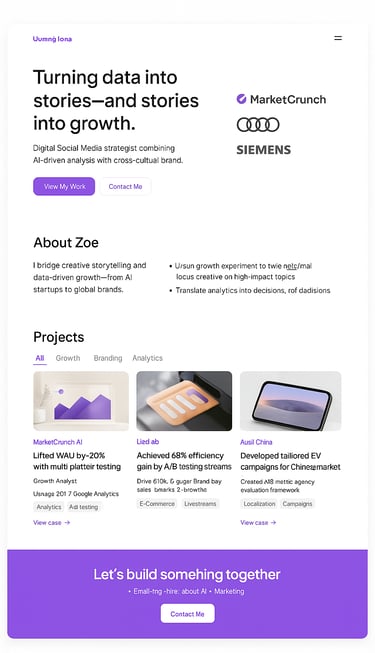
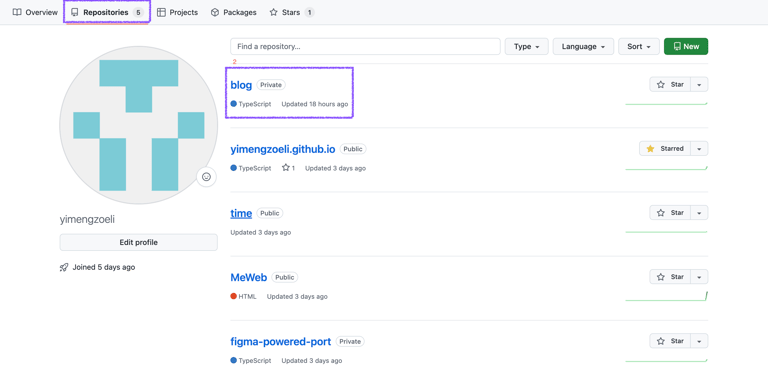
So I gave myself a week to fall on every sword: iterating prompts until AI produced runnable code, burning through tool credits, and finally pushing a site live. I learned that AI truly amplifies what used to be out of reach only if you develop an AI-native mindset, like learning the internet decades ago. In this guide, I’ll give you my key prompt, so the assistant actually becomes your co-builder.
What made me write this blog?
Who it’s for
Communications/marketing folks who need a credible website fast.
Job seekers with tight timelines and tight or Zero budgets.
Coding beginners who follow logic but not syntax, and want AI to turn ideas into webpages.
A from-zero workflow:
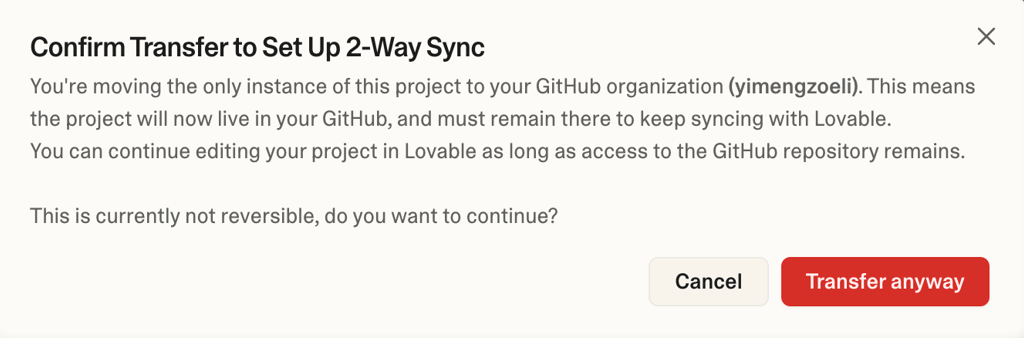
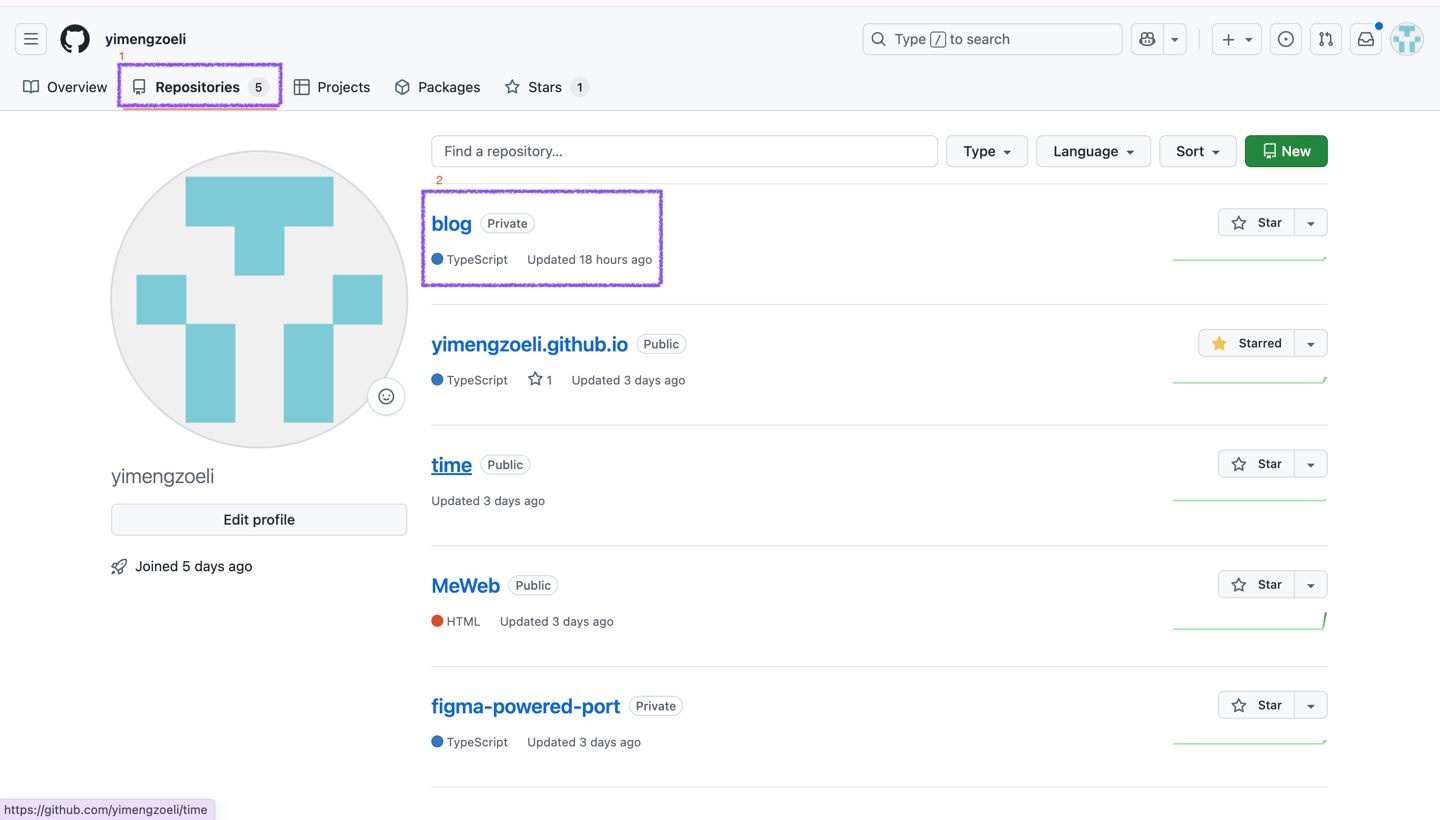
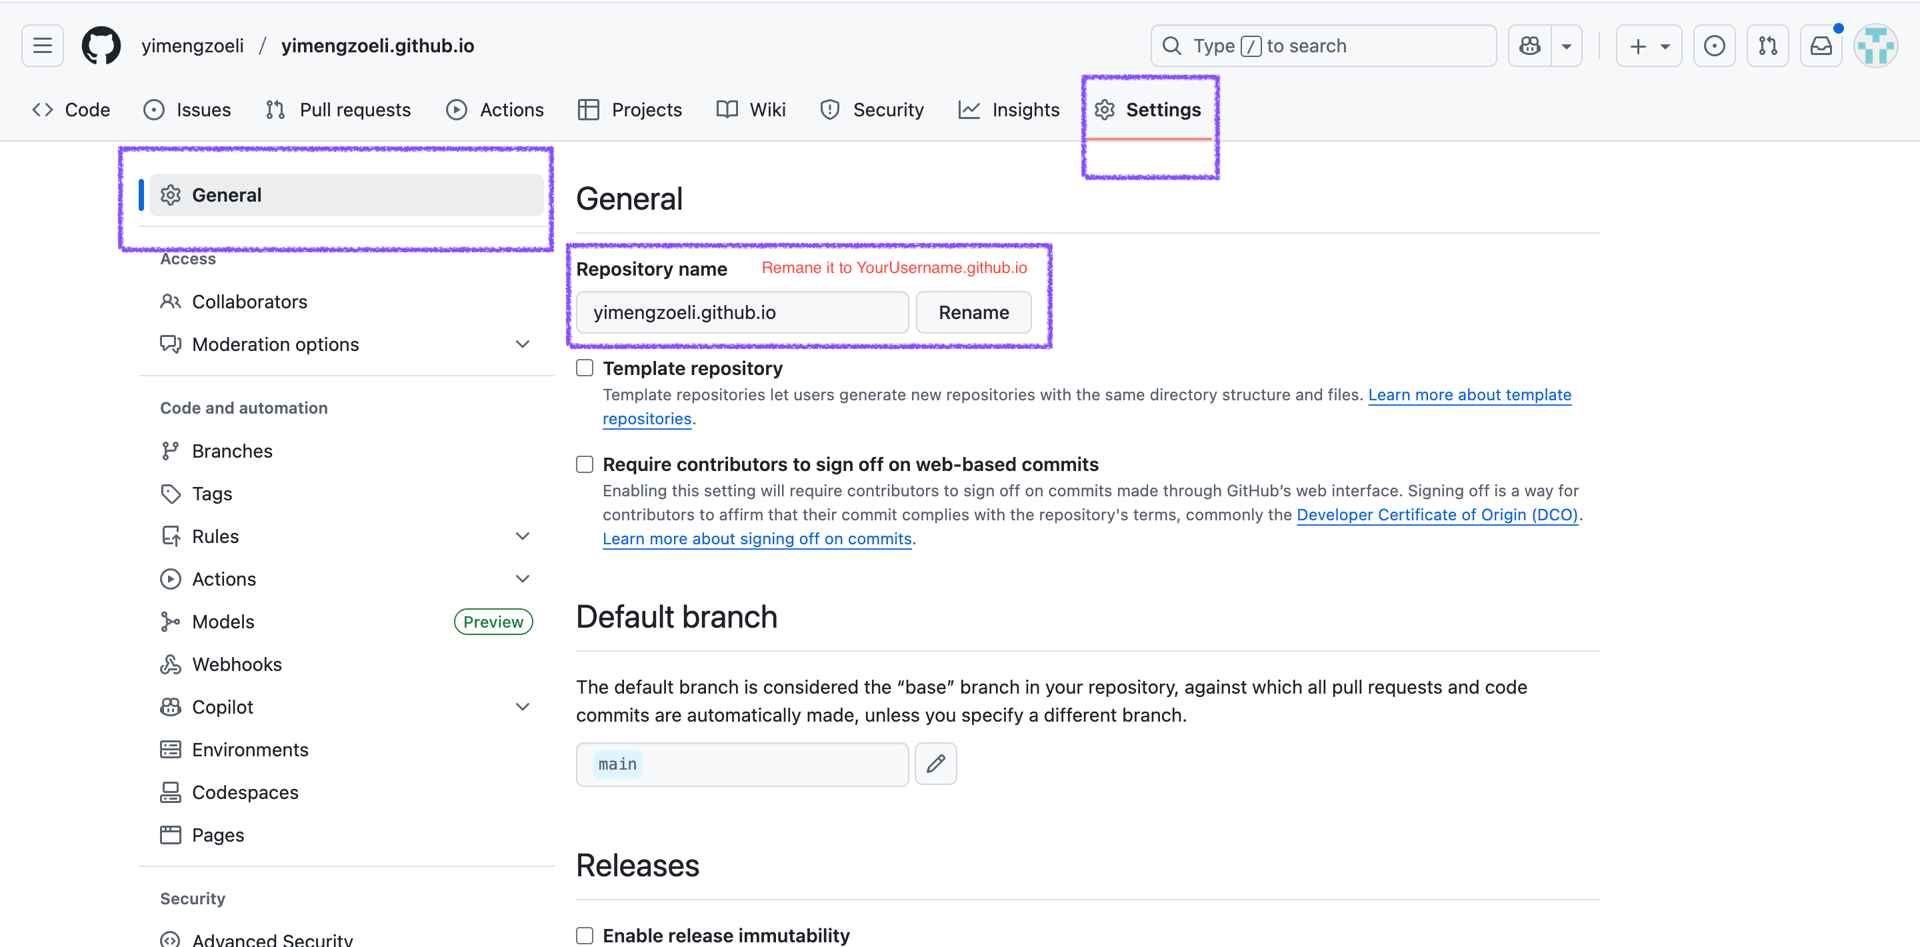
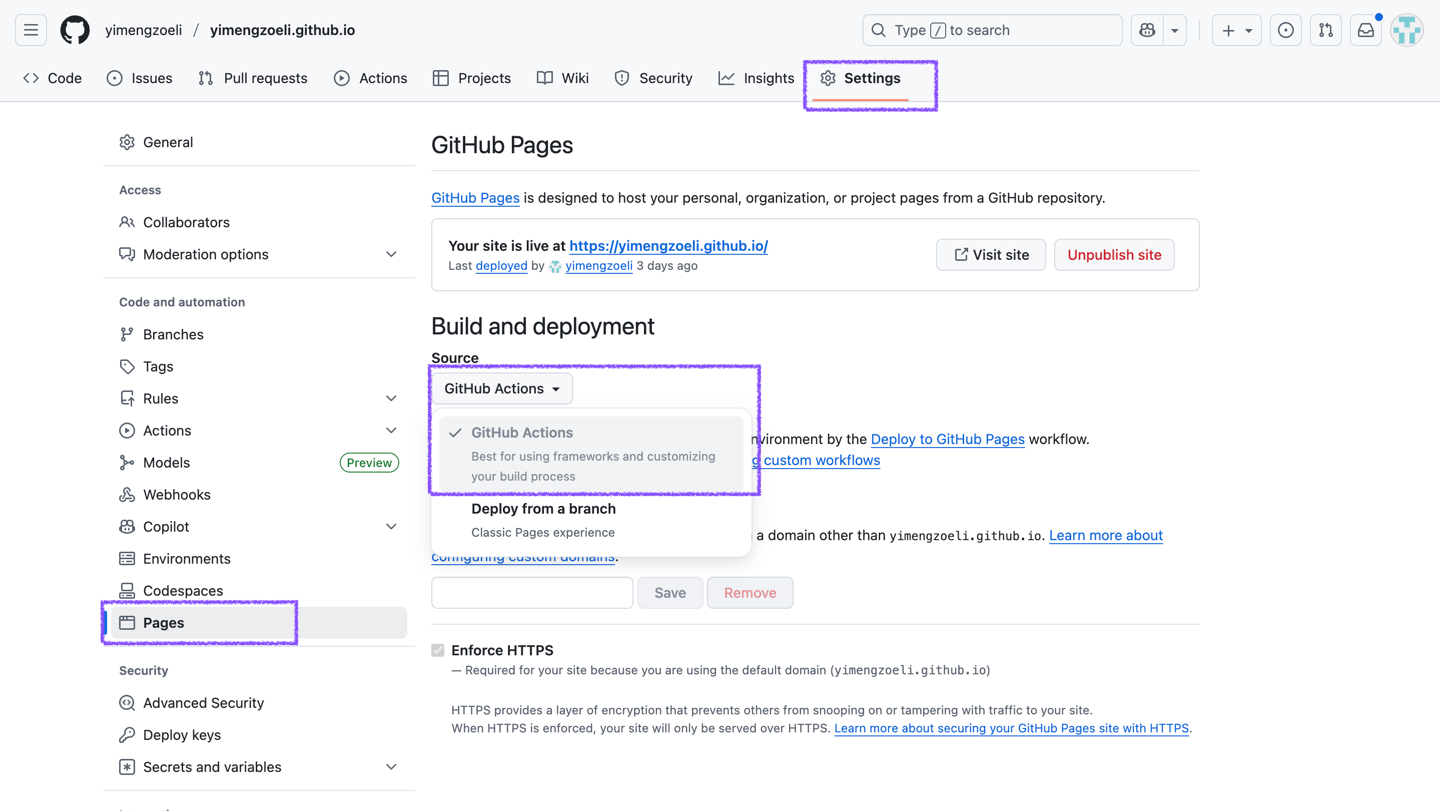
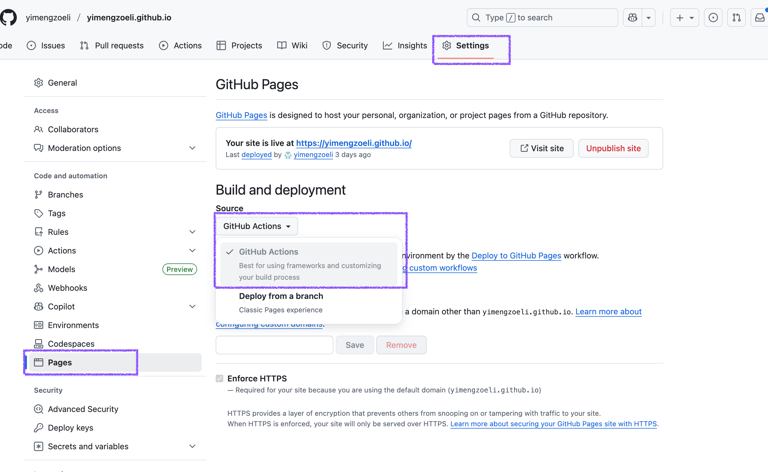
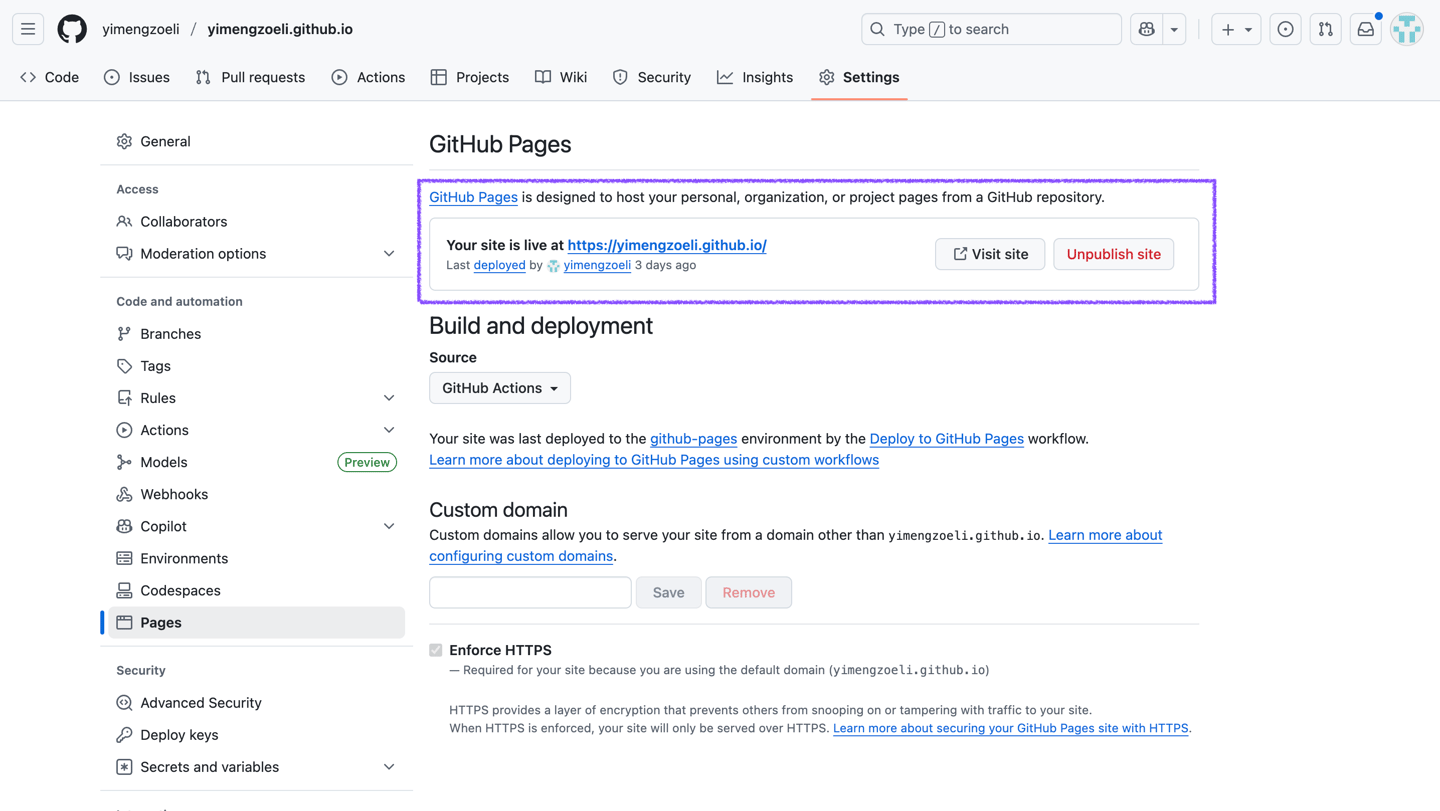
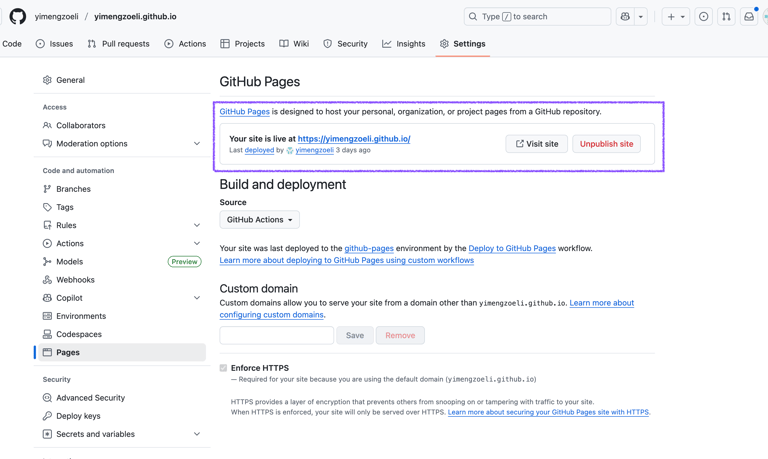
information architecture → page design → generate code with AI → AI-assisted debugging → free deployment.Copy-pasteable assets:
my key prompts + how to adapt them to your brand and layout goals.A working personal site under your domain.